The following guide explains the procedure for uploading files to the Storage Repository provided by NixNetworks. You can check the service details in the same link.
- Download an Amazon S3-compatible client
- Access Credentials
- Register the Repository in the S3 Client
- Access and Share Files or Links
Download an Amazon S3-compatible client
An S3 client is similar to an FTP client; there are several free and commercial versions. Below are several options:
| Name | Platform | License | Download |
|---|---|---|---|
| Crossftp | Multiplatform | Free and Commercial | http://crossftp.com/download.htm |
| Cyberduck | Multiplatform | Free | https://cyberduck.io/ |
| CloudBerry | Windows | Free and Commercial | https://www.cloudberrylab.com/explorer/windows/amazon-s3.aspx |
| S3 Browser | Windows | Free | http://s3browser.com/ |
| s3cmd | Multiplatform | Free | https://s3tools.org/s3cmd |
| FileZilla | Multiplatform | Commercial (S3) | https://filezilla-project.org/download.php?type=client |
For this guide, the Crossftp client will be used due to its great similarity to conventional FTP clients.
Access Credentials
To access the service, Administrator credentials and Read-Only user credentials are provided. The Administrator can upload, modify, or delete files in the repository; while the Read-Only user can only view the files using their access via the S3 client. Upon service activation, credentials for both users are delivered, which include:
- Repository Name
- User Type
- Username
- Access Password
Register the Repository in the S3 Client
Although quick connections can be established with most clients, the ideal practice is to add a new site to quickly access the repository. It is important to remember that only the Administrator user can upload and delete files from the repository; the read-only user can only view the files. Screenshots describing the process are attached below.
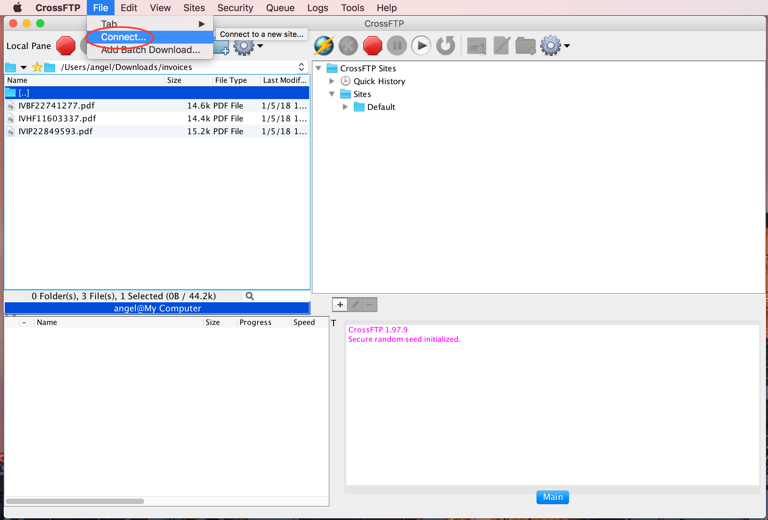
Step 1: Add a new site in the program
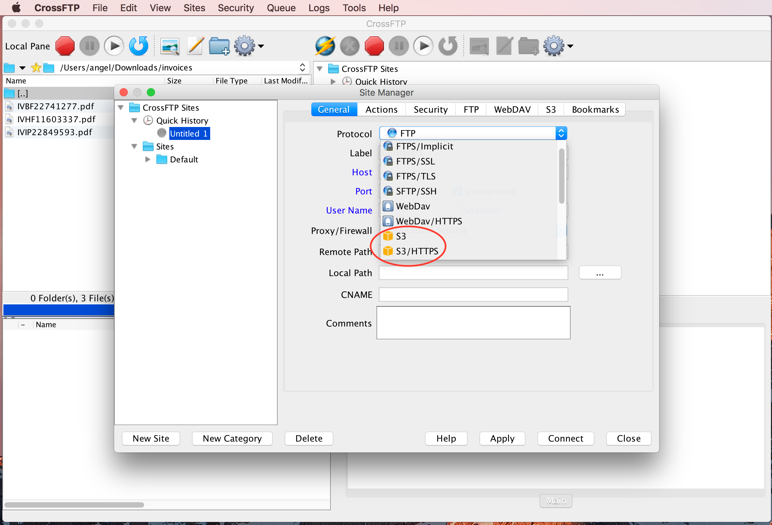
Step 2: Select the protocol as S3 (Amazon S3)
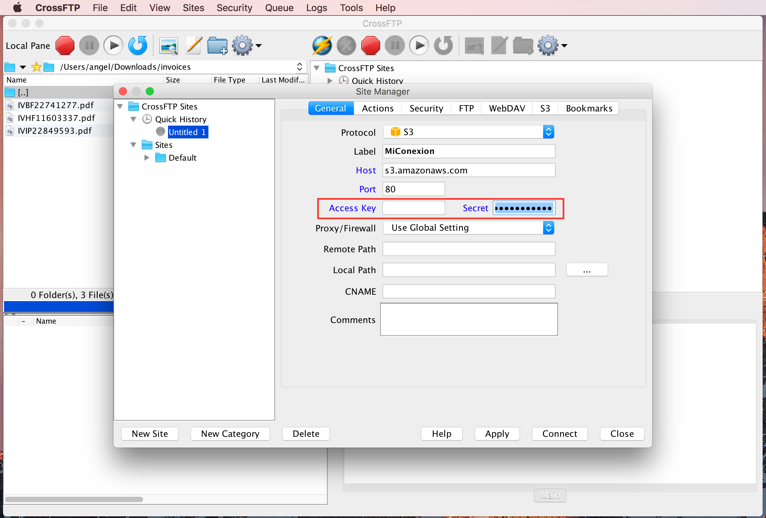
Step 3: Register access credentials
Step 4: Select the storage repository (in case of having multiple)
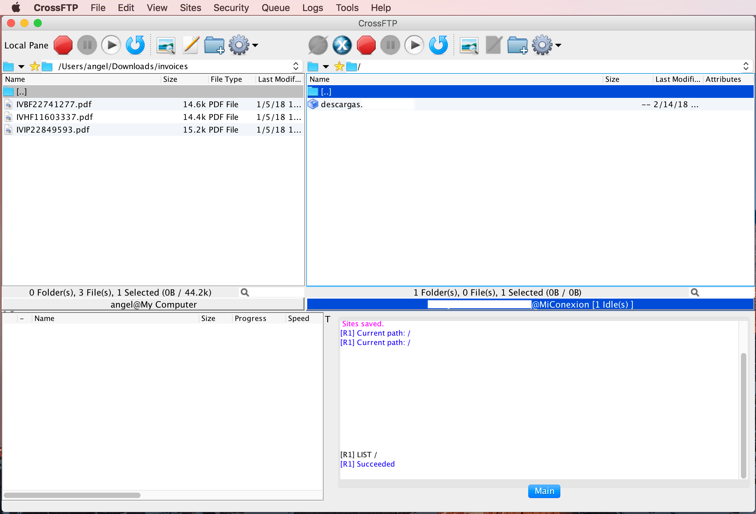
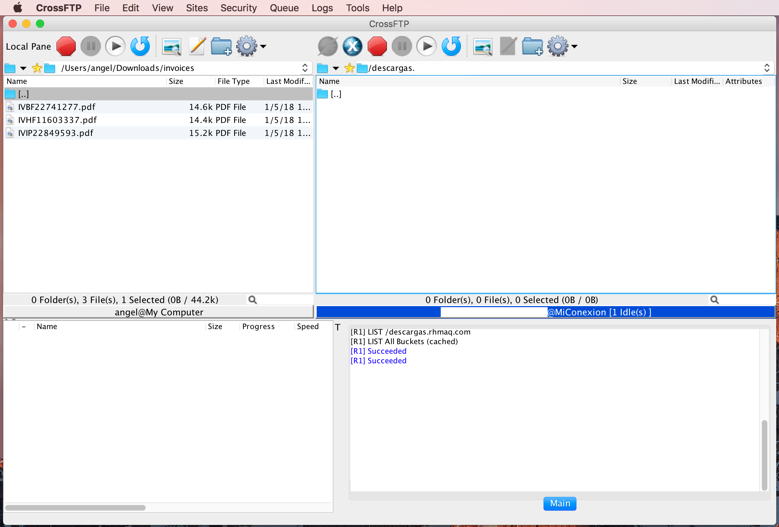
Step 5: Upload files to the repository
Access and Share Files or Links
The way to share addresses with your users or link them on your pages is via HTTPS and consists of the repository address along with the path to the uploaded file, example:
https://REPOSITORY.DOMAIN.COM/EXAMPLE_FOLDER/PATH_TO_FILE
For example, if you upload a file named “video.mov” inside the folder "cursos" (courses) to the repository, the final path to share with your users or link on your pages would be:
https://REPOSITORY.DOMAIN.COM/cursos/video.mov
Additional notes
- It is always recommended to use lowercase characters, hyphens or underscores, and no spaces.
- In the case of folders or files with spaces, these must be replaced with the + symbol; for example, for the folder "cursos 2019" you would use "cursos+2019"